

There is a moment that most new course creators will recognise.
You've done the research. You've chosen a platform. You've created an account. And then you're sitting in front of a blank dashboard, looking at a navigation menu full of options, and you have absolutely no idea where to start.
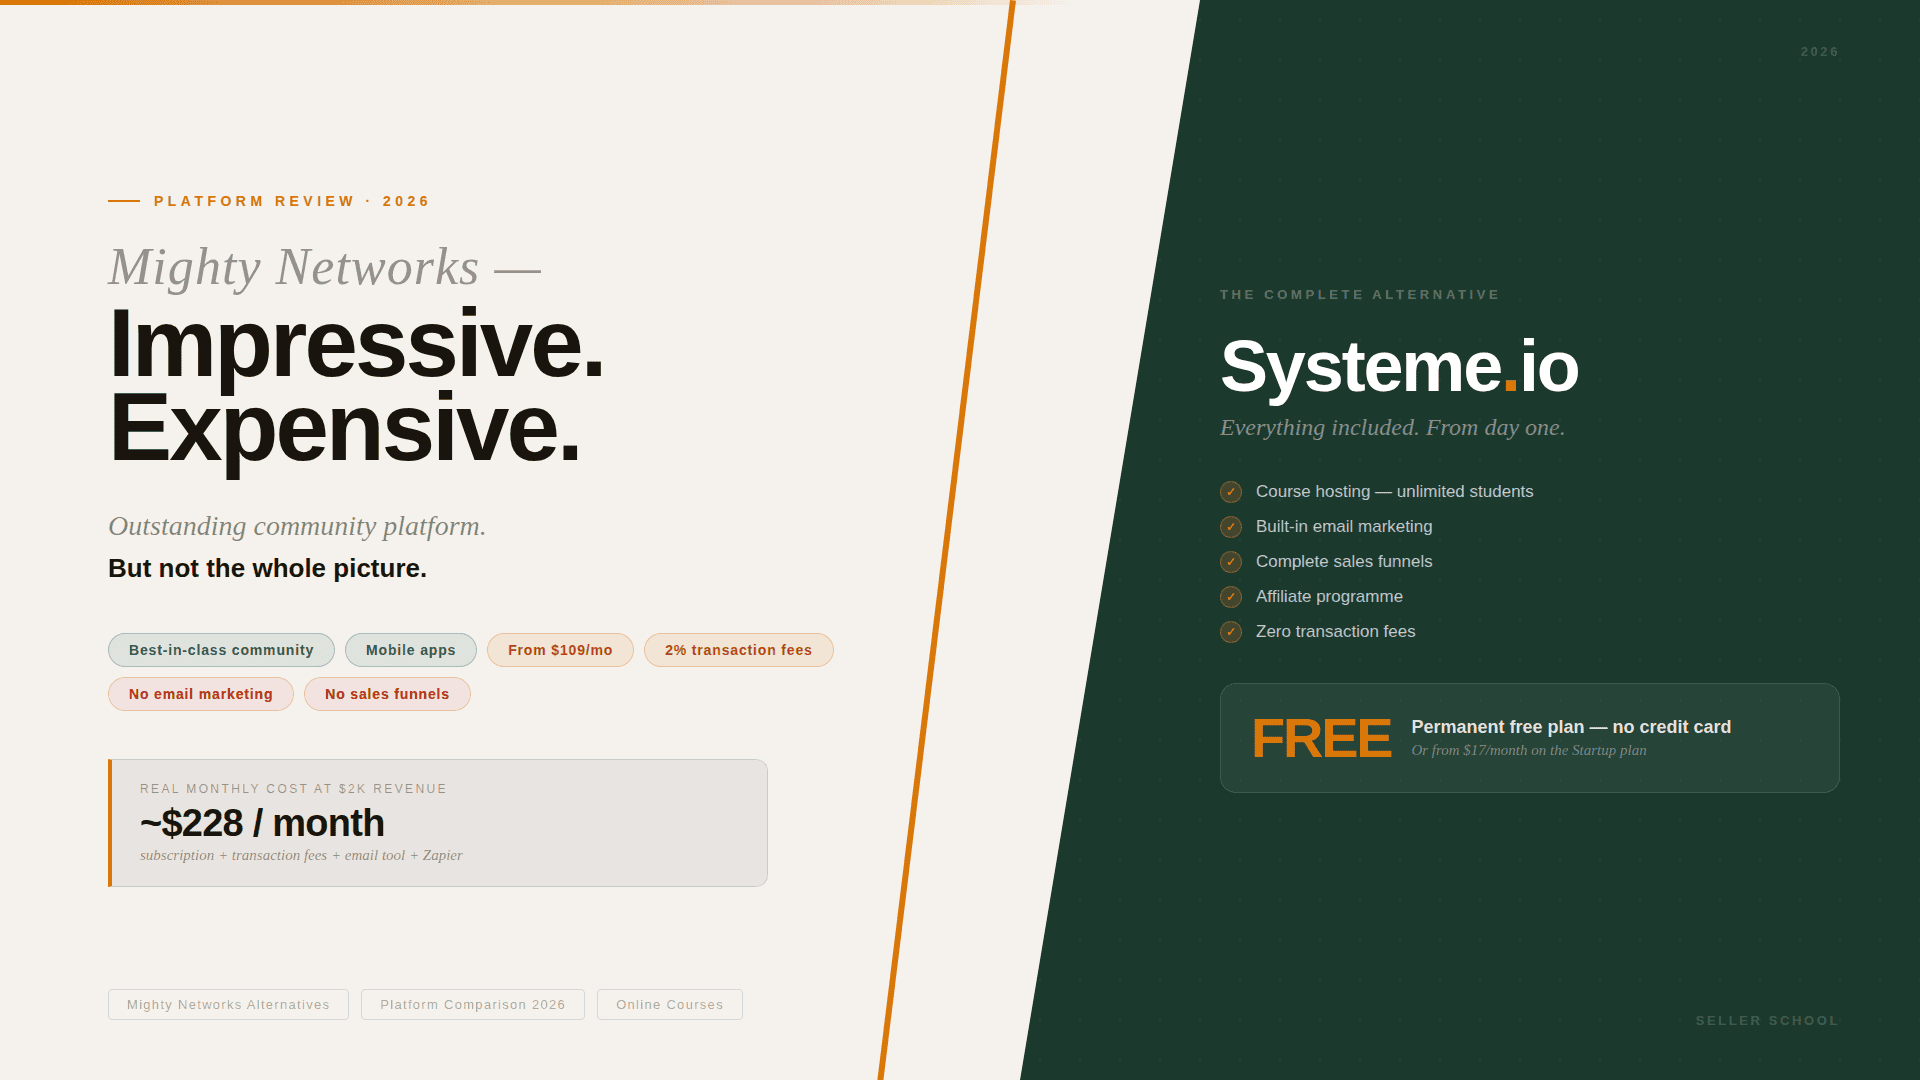
If that moment has happened to you on Systeme.io — or if you're about to create an account and you want to know exactly what you're walking into — this guide is for you.
I'm going to walk through the entire setup process from scratch. Account creation, dashboard orientation, course building, sales funnel, checkout, payment processing, and automated welcome email. By the time you reach the end of this guide, you'll have a complete, functioning course business infrastructure — one that can take real payments and deliver real course content to real students automatically.
No steps skipped. No assumed knowledge. Every stage explained clearly.
If you'd rather watch than read — or if you want to follow along with a screen recording of the full build — the video walkthrough is embedded above.
Before You Start: What You'll Need
Before you open Systeme.io, gather the following:
A Stripe or PayPal account. You'll need at least one of these to accept payments. Stripe is our recommendation — it's clean, reliable, widely supported, and free to create. If you don't have one, set it up at stripe.com before you start. The process takes around ten minutes.
Your course content. At minimum, have your first module recorded and ready to upload or embed. You don't need everything finished before you build the structure, but having something real to work with makes the process more concrete.
A course outline. Know your module titles and lesson names before you start building. You can always rename things later, but having a structure in mind makes the build faster and cleaner.
A Systeme.io account. If you haven't created one yet, the link is at the bottom of this post. It's free, requires no credit card, and takes about two minutes to set up.
With those four things in place, let's build.
Stage 1: Account Setup and Dashboard Orientation
Creating your account
Go to Systeme.io via the link at the bottom of this post, or here, and click Start For Free Now. Enter your email address and create a password. You'll receive a confirmation email — click the link inside it and you're in.
No payment details. No credit card. No trial period countdown. The free plan is free indefinitely.
Understanding the dashboard
When you log in for the first time, you'll see the Systeme.io dashboard. Before you start building anything, spend two minutes getting your bearings. The top navigation is where everything lives, and understanding what's where will save you time throughout the bui
Here's what each section contains:
Funnels (Under Sites)— this is where your sales pages, opt-in pages, and checkout pages live. Every page your potential students will see before they buy is built here.
Courses (Under Assets)— this is where your actual course content lives. Modules, lessons, video content, files, and student access are all managed here.
Emails — your email list, broadcast emails, and automated email sequences are all managed here. Everything from a one-off announcement to a multi-week onboarding sequence is built in this section.
Contacts (under CRM)— every person who has ever opted in to your list, purchased a course, or otherwise entered your Systeme.io system is listed here. You can tag, segment, and manage contacts from this section.
Products — this is where you set the price and payment structure for your courses. Products connect your course content to your checkout page.
Automation — this is where you build rules that tell Systeme.io what to do when something happens. For example: when someone buys a product, add them to a course and send a welcome email.
Settings (Under your account image) — payment integrations, your domain, your sender email address, and other account-wide configurations live here.
That's the lay of the land. Now let's build something in it.
Stage 2: Building Your Course
Creating the course
Click on Courses in the top navigation, then click the Create button.
You'll be prompted to give your course a name and a description. Use the actual name of your course — not a placeholder. The description is what your students will see when they access their account, so write it as if you're speaking directly to them: what will they get, what will they be able to do, why does it matter.
You'll also be asked to upload a course image. This appears in your students' dashboard and on any course listing pages. Use something clean and professional — a simple branded graphic works well. This can be added or updated later, so don't let it hold you up now.
Click Save. Your course now exists.
Building your module and lesson structure
Inside your course, you'll see the option to Add a Module. A module is a chapter — a thematic grouping of lessons. Click Add Module and give it a name.
Work through your course outline and add all your modules. Don't worry about the order — you can drag and rearrange them once they're created.
Once your modules are in place, click into each one and add your lessons. Each lesson sits within a module and contains the actual content your students will consume.
When you click Add Lesson, you'll see the lesson editor. This is where you add:
Video content — Systeme.io doesn't host video files directly. You embed them from YouTube or Vimeo. If you're using YouTube, set the video to Unlisted before embedding — this means it's accessible via the embed but not discoverable in YouTube search. Paste the video URL into the embed field and it will appear automatically.
Text content — you can add formatted text below your video. This is useful for lesson summaries, key takeaways, or written instructions that complement the video.
Downloadable files — PDFs, worksheets, templates, and other resources can be uploaded directly to each lesson. Students can download them from within the course.
Quizzes — basic quiz functionality is available within lessons. You can add multiple choice or true/false questions and set pass marks if needed.
Work through each module and add your lessons. For any lessons you haven't recorded yet, create the lesson structure with a title and a placeholder — you can come back and add the content as you record it.
Configuring course settings
Once your course structure is built, click the Settings tab within your course. There are a few important options here.
Student access — you can set whether access is open indefinitely or expires after a set period. For most courses, indefinite access is the right choice. If you're running a cohort-based course with a defined end date, set an expiry accordingly.
Drip content — if you want to release lessons over time rather than all at once, you can set drip rules here. For example, Module 2 unlocks seven days after enrolment, Module 3 unlocks fourteen days after enrolment. Drip scheduling can improve course completion rates and reduce overwhelm for students.
Course URL — this is the web address your students will use to access their course content. Customise it to match your course name.
Your course is built. Now let's create the pages that will sell it.
Stage 3: Building Your Sales Funnel and Checkout
Creating a funnel
Click on Funnels in the top navigation, then click Create.
You'll be asked to name your funnel and select a goal. For selling a course, select Sell a Product. Give the funnel a name that makes sense to you internally — this won't be visible to your audience.
Click Create. Systeme.io will automatically generate a two-step funnel for you: an Order Page and a Thank You Page. These are the two pages your potential students will move through.
Building your order page
Click Edit on the Order Page step to open the page editor.
Before you start building from scratch, click on Templates. Systeme.io has a library of pre-built sales page templates in various styles. Choose one that suits the tone and subject matter of your course — a clean, minimal template works well for most course creators. You're going to replace all the placeholder content anyway, so focus on finding a structure that works rather than a visual style that's perfect.
Once you've selected a template, you'll see a drag-and-drop editor with all the page sections already in place. Your job is to replace the placeholder content with your own.
Work through the page from top to bottom:
The headline is the most important element on the page. It should tell your potential student exactly what they're going to get and why it matters to them. Be specific and outcome-focused. "How to launch your first online course in 30 days" is more compelling than "Online Course Creation Programme." If you can include a specific result, a specific timeframe, or a specific audience, your headline will work harder.
The subheadline supports the main headline with a second layer of context — who this is for, what makes it different, or what they'll be able to do by the end.
The benefits section is where most course creators make the mistake of listing features rather than benefits. Features describe what's in the course. Benefits describe what students will be able to do, feel, or achieve as a result. "Six modules of video content" is a feature. "By the end of module three you'll have your course outline complete and your first lesson recorded" is a benefit. Write benefits.
The about you section is where you establish credibility. Keep it brief — two or three sentences that answer the question "why should I learn this from you specifically?" Focus on relevant experience and results, not a full biography.
The buy button should already be included in your template. Make sure the button text is action-oriented — "Get Instant Access," "Join the Course," or "Start Learning Today" rather than simply "Buy."
When you're happy with the page content, click Save.
Setting up your checkout page
Click Edit on the Order Page step to open the checkout editor.
Before you customise the appearance of the checkout, go to the Settings for this step and connect your product. Click Add Product and you'll be prompted to create a new product.
Give the product a name — the name of your course — and set your price. Choose your currency. Set the payment type — one-time payment for a standard course purchase, or subscription if you're offering payment plans or recurring access.
Click Save to create the product.
Connecting your payment processor
Before your checkout can take real payments, you need to connect Stripe or PayPal to your Systeme.io account.
Go to Settings in the top navigation, then Payment Gateways. You'll see options to connect both Stripe and PayPal.
To connect Stripe, click Connect with Stripe and follow the authorisation flow. If you don't have a Stripe account, you'll be prompted to create one — the process takes around ten minutes and requires basic business information and your bank details for payouts.
Once your payment processor is connected, return to your funnel and go back into your product settings. Make sure the payment processor is selected and the price is correct.
Linking your course to your product
This is the step that most people miss on their first build — and it's the one that makes everything work automatically.
Inside your product settings, look for the option to link the product to a course. Select the course you built earlier.
This connection is what tells Systeme.io: when someone buys this product, give them access to this course. Without this link, someone could complete a purchase and receive no course access — which is the kind of problem you want to discover in testing, not after your first real sale.
Adding a thank you page
Systeme.io creates a default thank in your funnel. Click Edit to customise it.
Your thank you page should do three things. Thank your new student genuinely and warmly — they've just made a purchasing decision and the first thing they experience after that decision sets the tone for everything that follows. Tell them clearly what happens next — how to access the course, how long it will take to arrive in their inbox, who to contact if they have a problem. And give them a direct link to their course content.
Keep it simple. The thank you page is not the place for additional selling or information overload.
Stage 4: Setting Up Your Welcome Email
A welcome email is the automated message your new students receive the moment they buy your course. It's the first communication they get from you as a student rather than a prospect — and it matters more than most course creators give it credit for.
Creating your email campaign
Click on Emails in the top navigation, then Campaigns. Click Create Campaign and give it a name — "New Student Welcome" is clear and descriptive.
Inside the campaign, click Add Email to create your first email.
Subject line — keep it warm and specific. Something like "You're in — here's how to get started" tells the reader immediately what the email contains. Avoid generic subject lines like "Welcome to the course" — they don't create any urgency or warmth.
Email body — your welcome email should do three things and nothing more. Welcome your new student genuinely, as if you're personally pleased they've joined — because you should be. Give them a clear, direct link to access their course content. And set an expectation — let them know what they're going to experience, roughly how long the course is, and that you're available if they have questions.
Keep the email short. Two hundred to three hundred words is plenty. This is an orientation email, not a content email. Its one job is to get your new student into the course feeling good about their purchase.
Connecting the welcome email to your funnel
Once your welcome email campaign is created, you need to connect it to your checkout so it fires automatically when someone buys.
Go back to your funnel and click on the Order Page step. In the settings for this step, look for the After Purchase section. Here you can tell Systeme.io what to do immediately after a successful payment.
Select Subscribe to Campaign and choose your welcome campaign from the list.
This connection is now live. When someone completes a purchase, they are automatically enrolled in the course and added to your welcome email campaign. The email fires without any manual intervention from you.
Stage 5: Test the Entire System
Before you tell anyone your course is live, test it yourself. Go through the complete student journey as if you were buying for the first time.
How to run a test purchase
Systeme.io supports Stripe's test mode, which lets you simulate a real transaction without charging an actual card.
To run a test purchase:
- Go to your funnel and open the sales page preview.
- Click through to the checkout as a potential student would.
- Enter Stripe's test card details:
- Card number: 4242 4242 4242 4242
- Expiry: Any future date
- CVC: Any three digits
- Name: Any name
- Complete the purchase.
After the test transaction, check the following:
Did you receive the welcome email? Check the inbox of the email address you used for the test purchase. If the email didn't arrive, go back and check the automation connection in your funnel settings.
Do you have access to the course content? Log in as the test student and check that you can navigate to the course and access the lessons. If access wasn't granted, check the product-to-course connection in your product settings.
Does the thank you page display correctly? Make sure the link to the course is visible and working.
Does the checkout page look right? Check the layout, the product name, and the price are all displaying correctly.
Test before you launch. Test again after any changes. This is not optional — it's the difference between a smooth first launch and an embarrassing one.
Common Setup Questions
Can I use Systeme.io without a custom domain?
Yes. On the free plan, your pages will be hosted on a Systeme.io subdomain — something like yourname.systeme.io. This is perfectly functional and most beginners won't find it limiting during a first launch. A custom domain is available from the Startup plan upwards at around £13 or $17 a month.
Do I need to have all my course content recorded before I build?
No. Build the module and lesson structure first, then add content to each lesson as you record it. Having the structure in place gives you a target to work towards and means you can start testing the technical setup before everything is filmed.
What if someone buys before all the lessons are uploaded?
Two options. Either delay your public launch until the course is complete. Or be transparent with your students — many course creators launch with the first two or three modules complete and release the rest on a schedule. If you choose the latter, make it clear on your sales page so students know what they're buying.
Can I offer payment plans?
Yes. When setting up your product, select the subscription payment type and configure the instalment amount and frequency. A common setup is three monthly payments — set the payment amount to one third of your total course price and the frequency to monthly.
How do I give students access to the course if they email me directly and don't go through the checkout?
In your Courses section, you can manually enrol students by entering their email address. This is useful for review copies, scholarship places, or any situation where a student needs access outside the normal checkout flow.
You've Built It. Now What?
With your course, funnel, checkout, and welcome email all in place and tested, you have a complete course business infrastructure.
What you don't yet have is students.
Getting the right people in front of your sales page — building an audience, driving traffic, running a launch — is the next layer of the work. It's also the part that most course creators find more challenging than the technical setup. I cover that in detail across several posts on Seller School.
For now, the infrastructure exists. And a course business with no students is still further along than a perfect course idea that nobody ever sees.
Go and tell people it exists.
👉 [Create your free Systeme.io account here: https://iosysteme.com]
Further Reading on Seller School
Disclosure: The Systeme.io link in this post is an affiliate link. If you sign up, I earn a small commission at no extra cost to you. I only recommend tools I use myself.